
CSV Import
Upload a CSV to bring in spend from sources Lifesight cannot connect to directly, so nothing sits outside your measurement.
Not everything that drives your business sits in an ad platform. Offline retail sales, wholesale orders, a sponsorship deal invoiced quarterly, cost of goods maintained by finance, a partner who emails a spreadsheet every month. CSV import is how that data gets into Lifesight.
It is worth taking seriously. In most measurement projects the missing piece is not another ad platform. It is the offline revenue, or the promotional calendar, or the price changes that explain why last November looked the way it did.
When to use CSV rather than something else
Use CSV for data that is fixed, historical, or updated rarely. A year of offline sales. A one off export from a system being retired.
Use Google Sheets instead when the data is maintained on an ongoing basis and you want it refreshed automatically. If someone updates the numbers every week, a linked sheet saves you re-uploading it every week.
Use a data warehouse connection when the data already lives in BigQuery or Snowflake.
Preparing your file
A few minutes here saves a lot of confusion later.
One row per observation. Each row should be one thing on one date: one day of sales for one store, one week of spend for one channel. Avoid rows that summarise other rows, such as a total line at the bottom, because they will be counted twice.
Include a date column. Almost everything Lifesight does is over time. Use a consistent format throughout, ideally YYYY-MM-DD.
Use clear column headers. Headers should be on the first row, and each column needs its own name. Keep them to letters, numbers and underscores, starting with a letter.
Keep numbers as numbers. Strip currency symbols and thousands separators where you can. Lifesight can clean these up, but a clean file maps faster and with fewer surprises.
One currency per file. If you have sales in several currencies, either convert them first or split them into separate files.
No merged cells or blank spacer rows. These are common in files that were built to be read by people rather than machines.
The file must be a CSV of up to 50MB.
Uploading a CSV
The CSV wizard has two steps.
- Go to Data > Integrations and click Add Integration.
- Open the Files and Spreadsheets tab, find CSV, and click Connect.
- On Name and Connect, give the integration a name you will recognise later. Something like
Offline retail salesis far more useful in six months thanImport 3. Add a note describing what the file holds and where it comes from, which appears as a tooltip on the integration name and is genuinely helpful when a colleague finds it a year later.
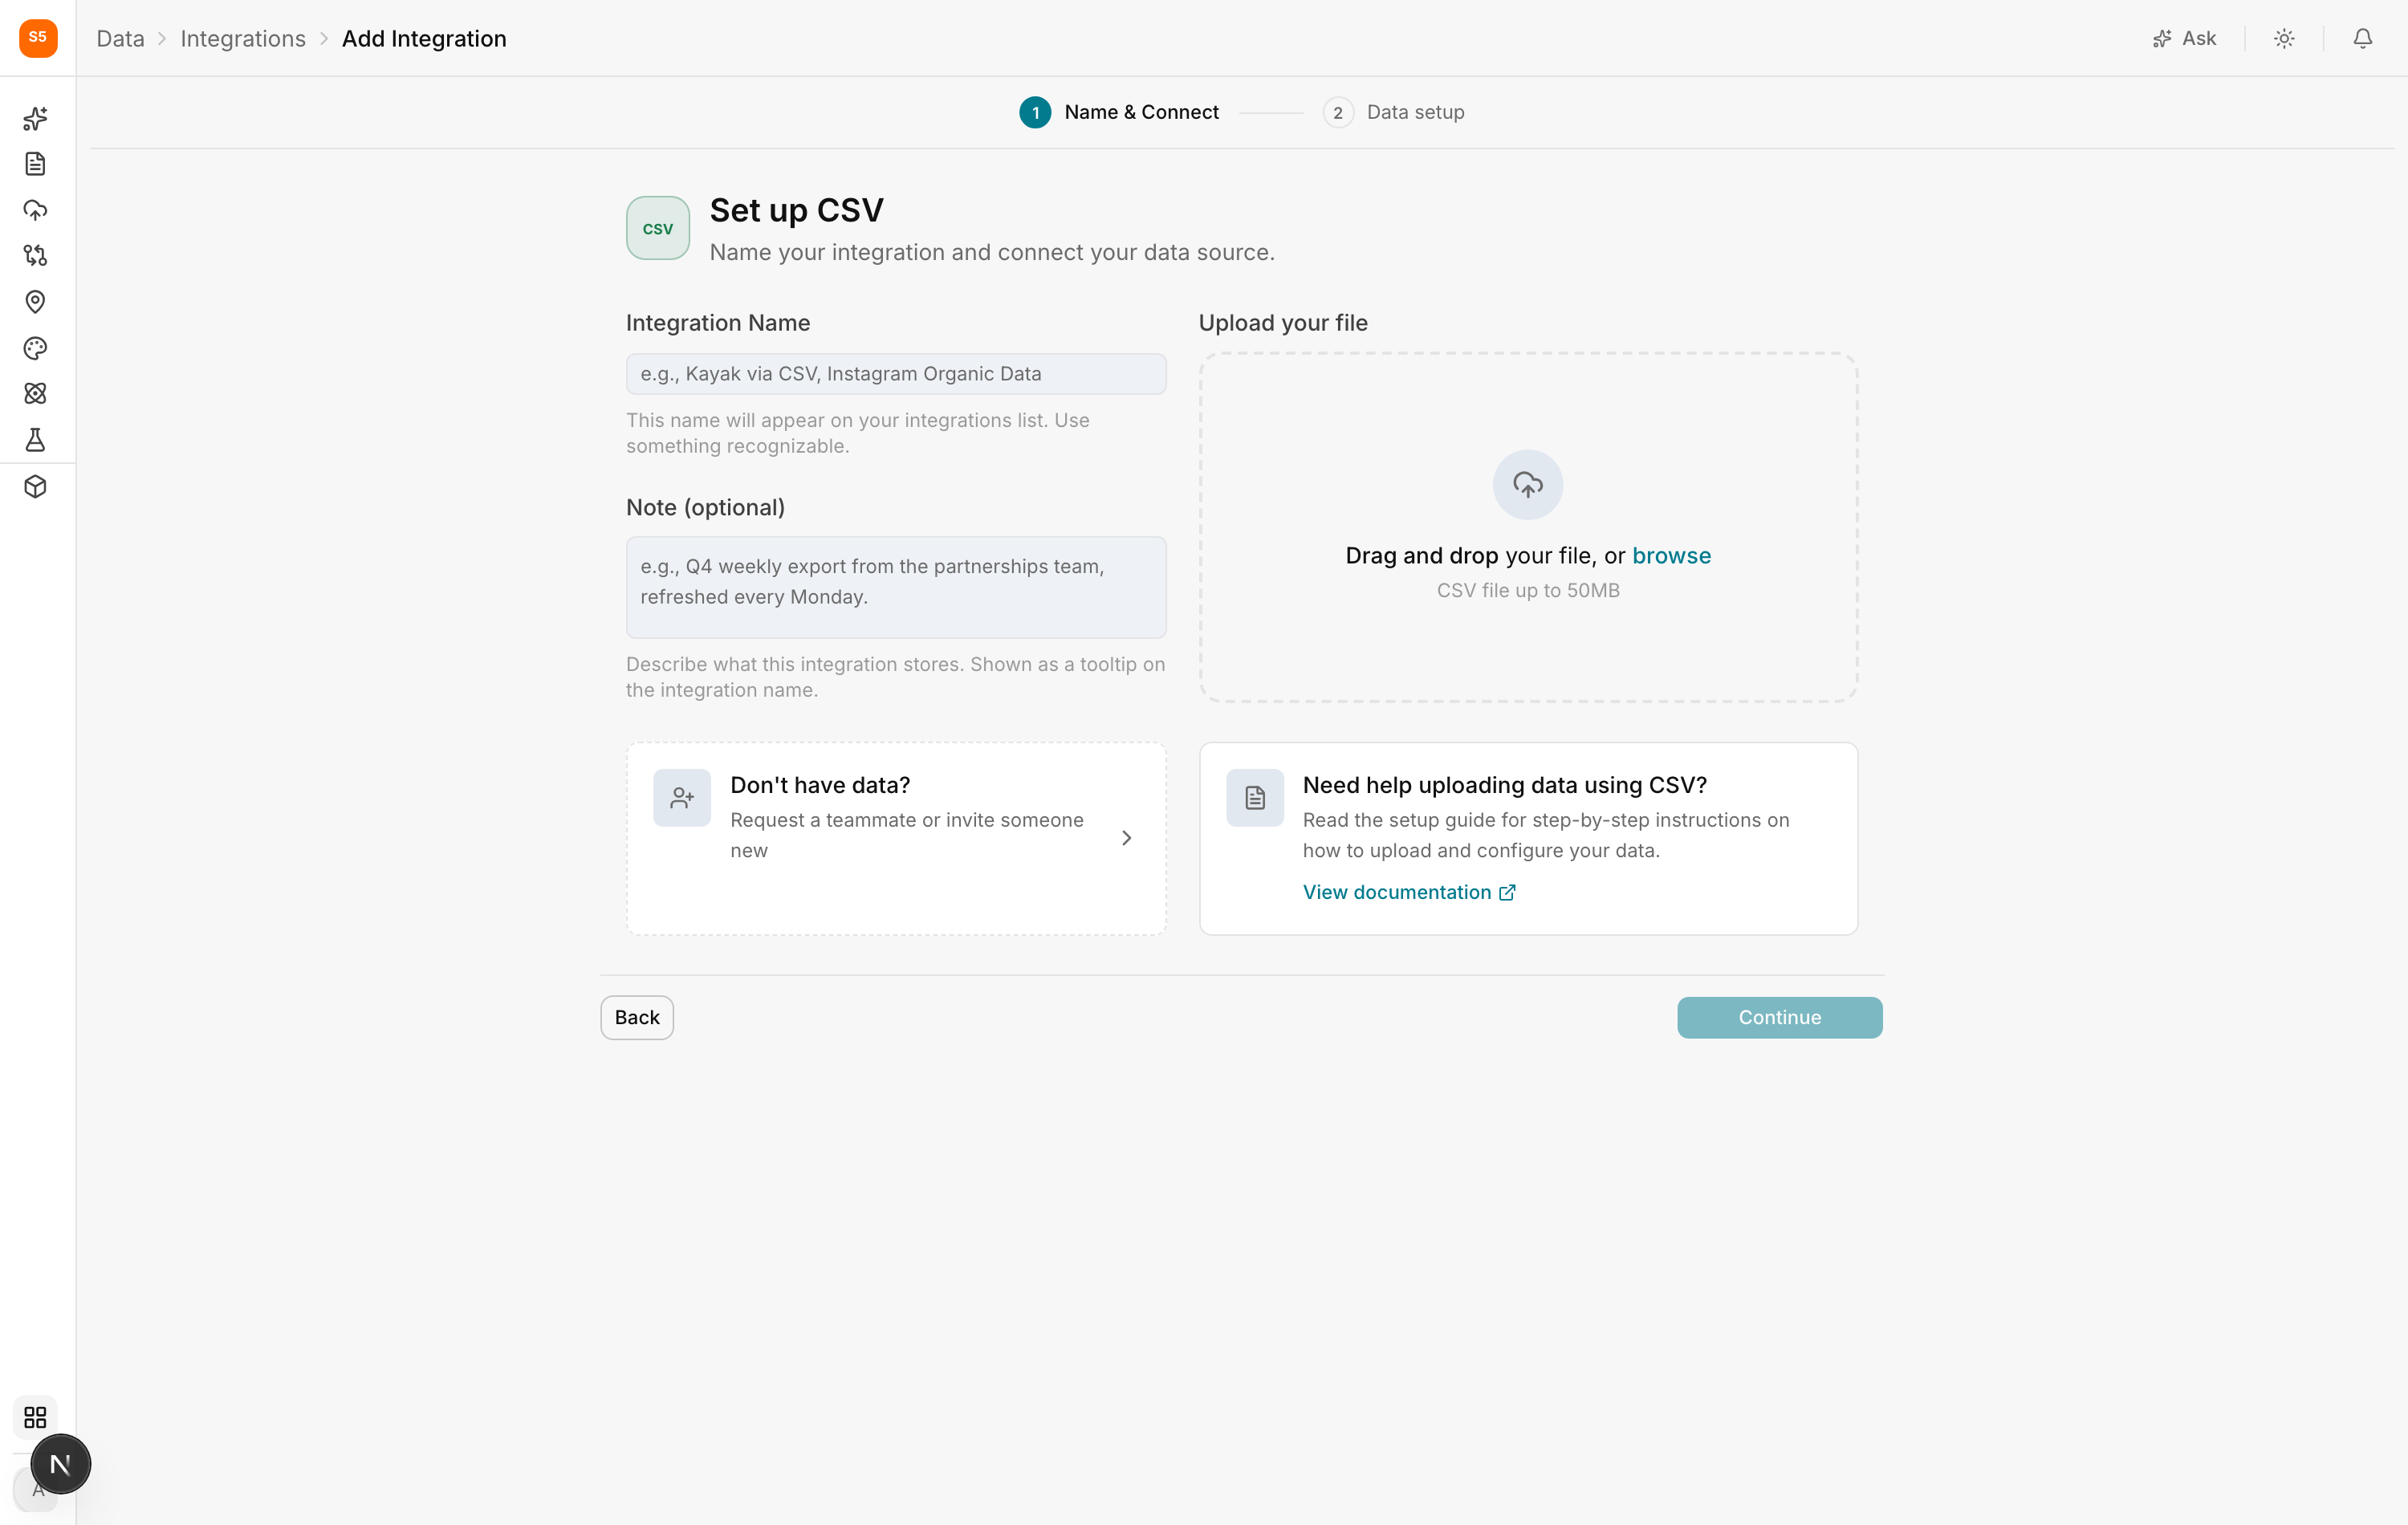
- Drag your file into the upload area, or click browse to pick it.
- Click Continue.
- On Data setup, Lifesight previews the file and proposes what each column is. Check the proposals, correct anything wrong, and confirm.
After uploading
Open Data > Data Transformation and find your file in the sources list. This is where you finish the job.
Two things are worth doing for almost every uploaded file.
Map the columns that matter. Point your revenue or spend column at the right Lifesight field, and confirm the date column was read correctly.
Add the context the file leaves out. Uploaded files very often lack a column that is true of the whole file. A file of UK store sales has no country column because every row is the United Kingdom. A file covering one sponsorship has no channel column. Set those with A fixed value for every row in the field editor, and the file lines up with the rest of your data instead of having holes in it.
Replacing or updating the file
CSV is a point in time upload. When you have newer data, re-upload it against the same integration rather than creating a new one. That keeps the field mappings you already set up, and keeps the history in one place instead of scattering it across several near identical sources.
If you find yourself re-uploading the same file every month, move it to Google Sheets and let it refresh on a schedule.
Troubleshooting
The upload failed. Check the file is a genuine CSV rather than an Excel file renamed, and that it is under 50MB. If it is larger, split it by date range and upload in parts against the same integration.
Columns were read as text when they should be numbers. Usually caused by currency symbols, thousands separators, or a stray footnote row. Fix it in the file and re-upload, or correct the mapping in Data Transformation.
Dates came through wrong. Almost always the day and month order, where 03/04/2025 is ambiguous. Use YYYY-MM-DD in the file to remove the ambiguity entirely.
Totals are roughly double what they should be. The file probably contains subtotal or total rows alongside the detail rows. Remove them and re-upload.
Updated about 1 hour ago